Trying to access the camera or location in Android only to have your app crash? Or worse, having your users uninstall your app because you asked for too many permissions without explaining why?
Mishandling Android runtime permissions is one of the fastest ways to ruin your user experience and get flagged during a Play Store review. In the past, declaring a permission in the Manifest was enough. Today, privacy is paramount, and users demand control over their data.
The good news? Using Kotlin and Jetpack Compose, you can implement a seamless, professional permission flow that respects user privacy while keeping your app stable. Here is how to do it.
Why Runtime Permissions Matter in Modern Android Development
In older Android versions, permissions were granted at the time of installation. Modern Android uses a “Runtime Model” for dangerous permissions (such as CAMERA, RECORD_AUDIO, or ACCESS_FINE_LOCATION).
This means your app must actively request consent while it is running. If you attempt to call a protected API without a granted permission, your app will trigger a SecurityException and crash instantly.
Step 1: Declaring Permissions in AndroidManifest.xml
Before you can ask the user for permission in the UI, you must tell the Android OS that your app is capable of using that feature.
Open your app/src/main/AndroidManifest.xml file and add the required permission tag outside the <application> block:
<uses-permission android:name="android.permission.CAMERA" />Pro Tip: The Manifest is your “declaration of intent.” It doesn’t grant the permission; it simply informs the system that the app will request it later.
Step 2: Checking Permission Status with ContextCompat
You should never trigger a permission dialog if the user has already granted access. Doing so creates a redundant and annoying UX.
In Jetpack Compose, you can track the permission state using a state variable. Use ContextCompat.checkSelfPermission() to determine if the permission is already active:
val isGranted by remember {
    mutableStateOf(
        ContextCompat.checkSelfPermission(
            context,
            Manifest.permission.CAMERA
        ) == PackageManager.PERMISSION_GRANTED
    )
}
By wrapping this in remember, Compose ensures the check doesn’t run unnecessarily on every recomposition.
Step 3: Creating a Permission Rationale (The “Why”)
If a user denies a permission once, Android provides a way to explain why the feature is necessary before asking again. This is called the permission rationale.
You can check if you should show this explanation using shouldShowRequestPermissionRationale().
val showRationale by remember {
    mutableStateOf(
        ActivityCompat.shouldShowRequestPermissionRationale(
            activity,
            Manifest.permission.CAMERA
        )
    )
}
Developer Best Practice: If showRationale is true, display a custom dialog or text block. Tell the user: “We need camera access so you can scan QR codes.” Users are significantly more likely to grant permissions when they understand the benefit.
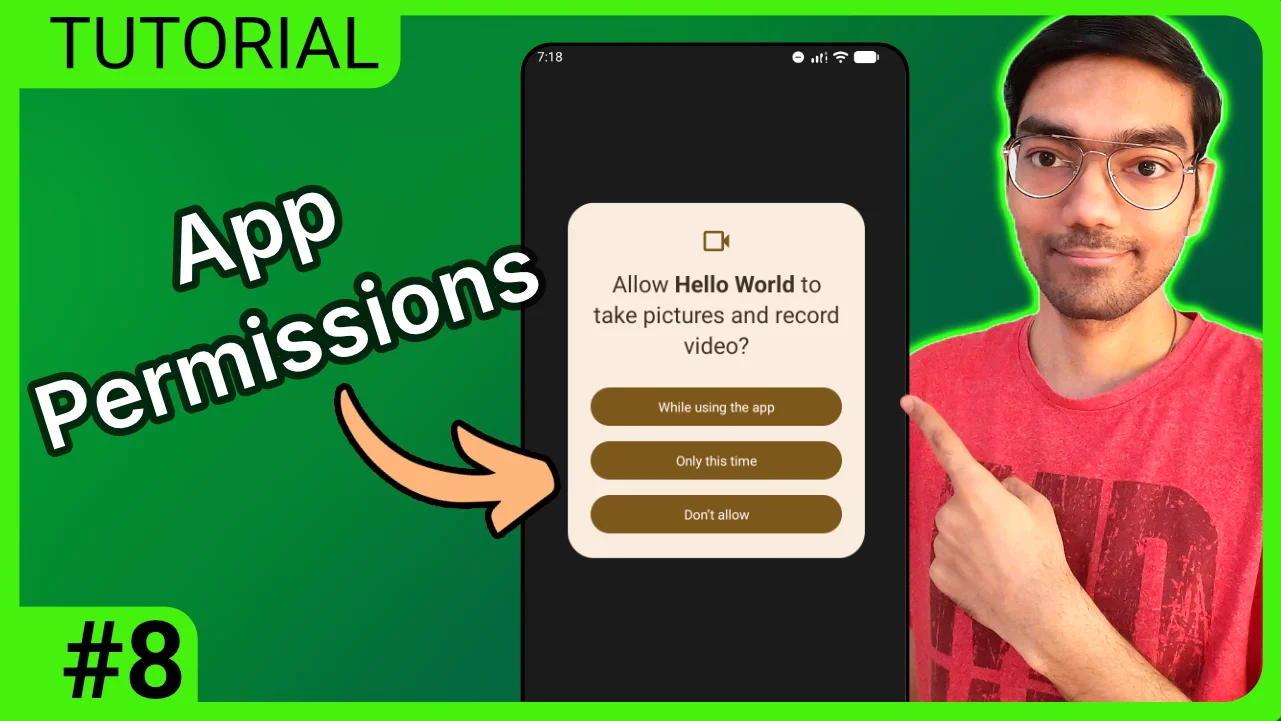
Step 4: Requesting Permissions via rememberLauncherForActivityResult
The modern way to handle the result of a permission request is through the AndroidX Activity Result API. Forget the old onRequestPermissionsResult override; use rememberLauncherForActivityResult instead.
Here is the complete implementation for a request button:
val launcher = rememberLauncherForActivityResult(
    contract = ActivityResultContracts.RequestPermission(),
    onResult = { granted ->
        isGranted = granted
        if (granted) {
            Toast.makeText(context, "Permission Granted!", Toast.LENGTH_SHORT).show()
        } else {
            Toast.makeText(context, "Permission Denied!", Toast.LENGTH_SHORT).show()
        }
    }
)

Button(onClick = {
    if (!isGranted) {
        launcher.launch(Manifest.permission.CAMERA)
    } else {
        Toast.makeText(context, "Permission already active!", Toast.LENGTH_SHORT).show()
    }
}) {
    Text("Enable Camera Access")
}
This approach decouples the request from the activity lifecycle, preventing memory leaks and crashes during configuration changes.
Quick Summary: The Runtime Permission Workflow
To ensure your app is professional and stable, follow this checklist:
- Declare: Add the permission to
AndroidManifest.xml. - Verify: Use
checkSelfPermissionto see if access is already granted. - Educate: Use
shouldShowRequestPermissionRationaleto explain the “why” if previously denied. - Execute: Launch the request using
rememberLauncherForActivityResult. - Handle: Provide a fallback UI if the user permanently denies the permission.
Frequently Asked Questions (FAQ)
Q: What is the difference between normal and dangerous permissions? A: Normal permissions (like Internet access) are granted automatically at installation. Dangerous permissions (like Camera or Contacts) involve private user data and require explicit runtime consent.
Q: What happens if a user selects “Don’t ask again”?
A: The launcher.launch() method will immediately return false without showing a dialog. In this case, you should direct the user to the App Settings page to manually enable the permission.
Q: Can I request multiple permissions at once in Compose?
A: Yes. Instead of RequestPermission(), use RequestMultiplePermissions() in your launcher contract and pass a map of permissions to be requested.
📌 Full Course Playlist https://www.youtube.com/playlist?list=PLO1OrQEU0vHNmD9Xqzs-qXwzzwrDvdhVu
~ ~ THANK YOU FOR READING ~ ~